A Step-by-Step Guide to Building a Deck
Posted by Rick R. on Feb 21, 2023
Building a deck is a rewarding process. It can turn an ordinary outdoor space into a beautiful and functional area for entertainment, relaxation, and more. Whether you are considering adding a deck to your property for the first time or replacing an existing one, getting started can be daunting. To make your project easier, we have put together this step-by-step guide to building a deck.
Step 1: Choose Your Location
The most important step in building your dream deck is deciding where it should go. Choose a spot that will get plenty of sun and shade throughout the day so you can enjoy it no matter what time of day it is. Consider your view; if you have one, take advantage of it! You may also want to consider how the location of your deck will interact with other features on the property such as doors, windows, trees, and shrubs.
Step 2: Calculate Your Materials
Once you’ve chosen the ideal spot for your deck, it’s time to calculate how much material you’ll need for its construction. Most decks are made from pressure-treated wood or composite materials such as Trex or TimberTech®. The size and shape of your deck will determine how much material you’ll need for framing, railings, stairs, floorboards, and any other elements (e.g., benches) that you may include in the design. Be sure to include additional materials such as screws and nails in your calculations so that you don't run out during construction!
Step 3: Gather Your Tools
Before beginning any project like this one, make sure that you have all the tools you need on hand—including both power tools and hand tools—to get the job done safely and efficiently. Common tools used in building decks include saws (circular saws or reciprocating saws), drill/drivers (cordless drills are helpful here), levels (laser levels are useful but not necessary), hammers (claw hammers are best), screwdrivers (Phillips head screwdrivers work best for screws most commonly used in decks), measuring tapes/rules/squares/angles (depending on what type of measurements you'll be taking). Having these tools readily available will help keep things moving quickly while also keeping them safe during construction!
Step 4: Begin Construction
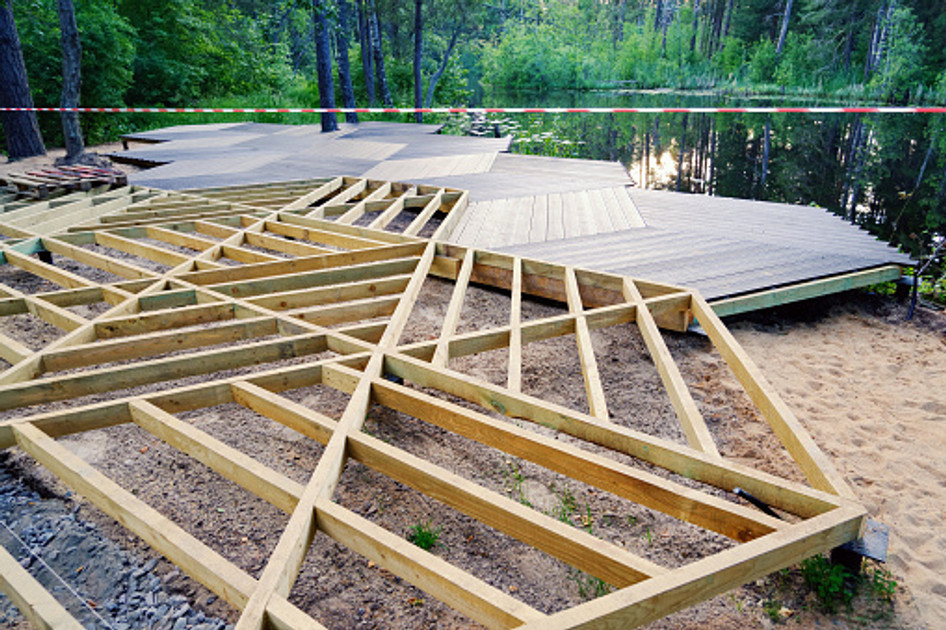
Now that all of your preparations are complete, it's time to begin constructing your dream deck! Start by laying out the framing boards in order to create the skeleton of your structure before attaching posts at each corner and then continuing with cross members between them until they form a square or rectangular shape depending on what type of design you have chosen for your project. Once this is done correctly according to code requirements in your area (which may vary based on location), move on to attaching joists that will support the flooring boards later on before finally finishing off with railings around each side of the structure that meet code requirements as well!
Building a deck is no small task but when done correctly can be incredibly rewarding both aesthetically and functionally speaking. With careful planning and preparation along with following our step-by-step guide above – hopefully, we've helped make this process easier than ever before! From choosing an ideal location based on sunlight availability throughout different times of day to gather all necessary materials including power tools & hand tools - be sure not to forget about checking local codes & regulations prior to starting construction so everything meets safety standards within reason when finished! Good luck & happy building!

