Classic Round 3/4" Classic Aluminum Deck Balusters by Deckorators
DETAILS:
- 7 different colors and textures to choose from: satin black, satin white, satin bronze, textured black, textured white, textured grey, textured brown
- The textured options offers a matte finish with little to no reflective qualities, while the satin options offer a smoother finish with some reflective qualities.
- 5 different lengths to choose from: 26”, 29”, 32”, 36”, 40”
- 18-gauge wall thickness
Below is a reference size chart if you’re unsure what length to purchase: (this is based on using a 2x4 upper and lower rail)
- Choose 26" for a 36" rail height
- Choose 29" for a 39" rail height
- Choose 32" for a 42" rail height
- Choose 36" for a 46" rail height
- Choose 40" for a 50" rail height
More Details:
- Powder coated aluminum
- 100% corrosion proof
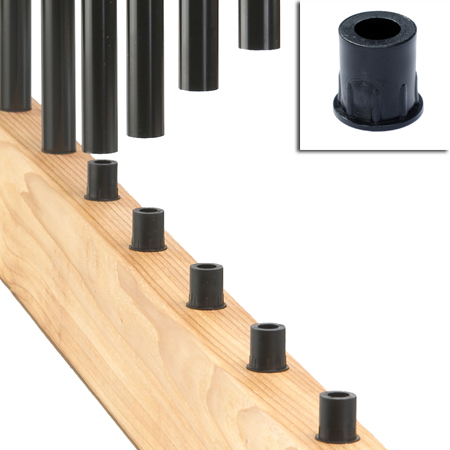
- Drill free installation with the purchase of baluster connectors
- Maintenance free
*Satin black now comes in 40”
About this product…
Balusters are used as a bridge connecting the top and bottom rails of your deck.
Looking at the options above, you can choose from seven different colors and textures and five different lengths, offering you much more variety to design your ideal space.
The matte options offer more texture with little to no reflective qualities, while the satin options offer a smoother finish with some reflective qualities.
These ¾″round aluminum balusters feature a powder-coated finish that provides an extra defense from outdoor elements like humidity and moisture. This product requires much less maintenance compared to the necessary upkeep of pine or materials similar. The round shape of these balusters is extremely versatile and can work in numerous different aesthetic styles while offering a sense of elegance and refinement. The round shape of these balusters is perfect for individuals with children as this shape is without harsh edges. These deck balusters are by Deckorators, a company that values ease of use for its customers through their simple setup and installation processes. No drills or tools required for setup (with a purchase of baluster connectors)! For more information on how to set up your balusters, scroll below for step-by-step images, or click HERE for installation.
Click HERE for warranty:
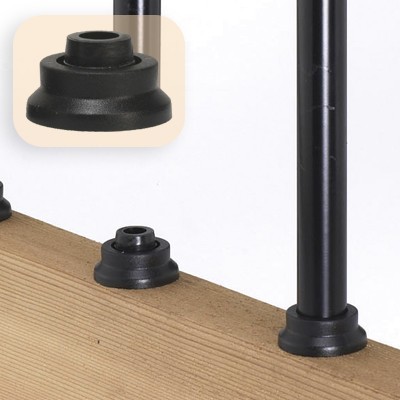
Using baluster connectors will make installation a breeze. Avoid drilling when you can simply screw in a connector and insert baluster onto the connector.
Choose Deck Baluster Connector Options:
Choose the Hidden or the Designer Baluster Connector:
Round Deck Baluster Installation:
*(Check local building codes for proper rail installation dimensions)

Step1.Plumb 4x4 or 6x6 posts - Measure distance between posts.

Step 2. Use this application when using Railing Connectors ( recommended - click HERE for railing connectors)
Measure top and bottom rail - deduct 1/2" to accommodate railing connector. (if not using railing connector - do not deduct 1/2") Cut top and bottom rails to size.

Step 3. Lay top and bottom rail beside each other long end up. Find center of rails and mark. This is your starting point. Measure out 4-1/2" from center on both sides until you reach the end of the rail. End spacing will vary. Use a square and lightly mark through each line. This is where your baluster connectors will mount.

Step 4. Insert screw through baluster connector (click HERE for baluster connectors) Screw down each connector where top and bottom rails are marked.

Step 5. Mount bottom railing to posts with attached railing connector. Rest bottom rail on 2 temporary spacer blocks. Insert balusters on to bottom baluster connectors and firmly push down by hand.

Step 6. Start the top rail at an angle and insert connectors into balusters. make sure balusters are fully connected. Push down firmly by hand. Install top railing connectors to posts. You can now install a handrail if desired.


