DekPro Aluminum Square Balusters
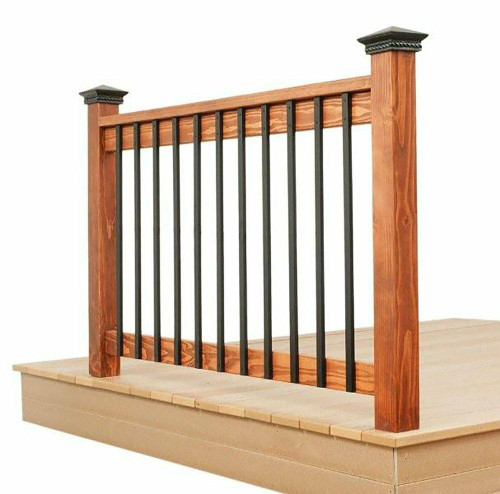
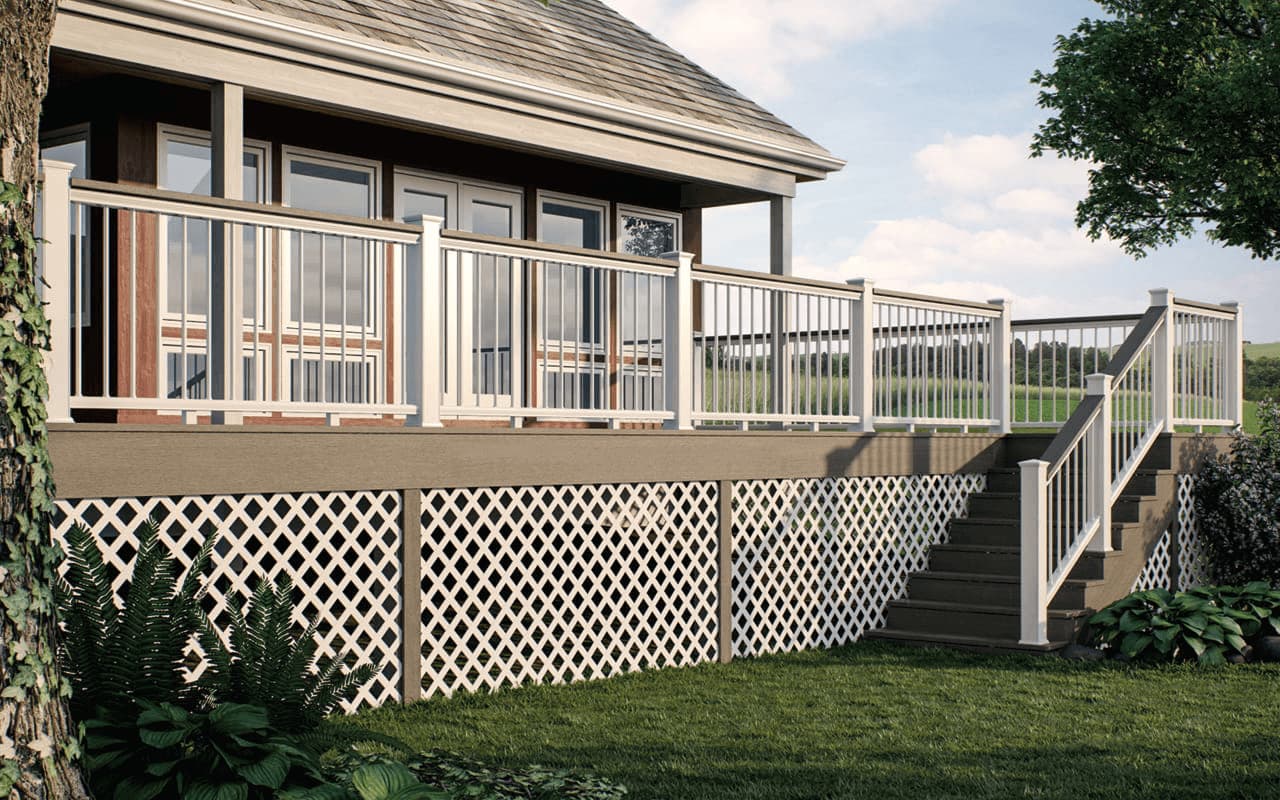
When it comes to choosing a baluster design, sometimes an old adage offers the best advice: less is more. This square-shaped aluminum baluster by DekPro is sure to create a clean and simple yet regal and stately look for any railing or fence surrounding your home. These balusters fit perfectly with a variety of fence and railing materials, including wood, composite, and vinyl, but their most popular pairing is with pine upper and lower rails. DekPro aluminum balusters are produced using quality materials and workmanship, ensuring that they are as sturdy and dependable as they are elegant and attractive. Choose from a lineup of seven subtle but beautiful colors—black, bronze, hammered bronze, clay, rust, green, and white—to achieve your ideal look. Every surface of these DekPro aluminum balusters is powder-coated, offering supreme protection from the weather and elements and ensuring that no aluminum is exposed. For truly seamless installation that will cut out any drilling work, our team recommends using baluster connectors, also available at Deck Expressions. Need some help? Reach out to our team with any questions you might have. We’re available 24 hours a day, 7 days a week to help and advise our valued customers.
COLORS:
- Black
- Bronze
- Hammered Bronze
- Clay
- Rust
- Green
- White
DETAILS:
- Sizes ~ 26" ~ 32" ~ 36" x 3/4" square
- 18 gauge
- 10 & 100 packs
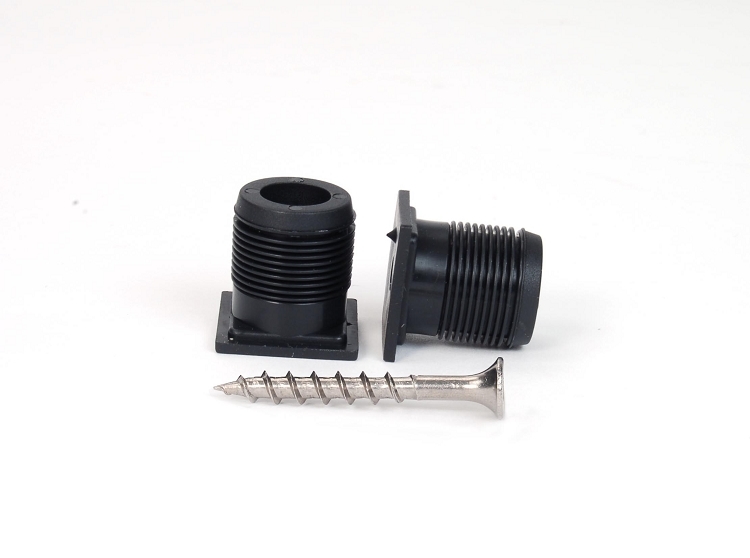
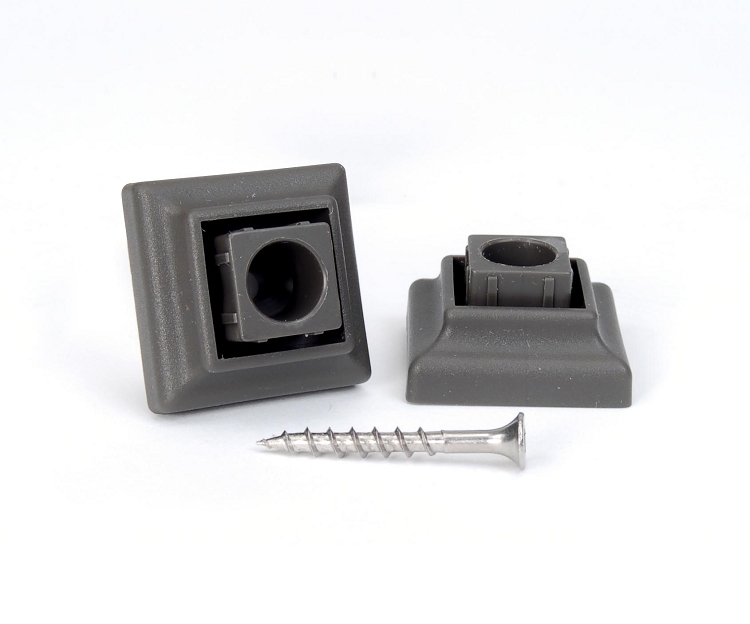
Choose Baluster Connector Options:
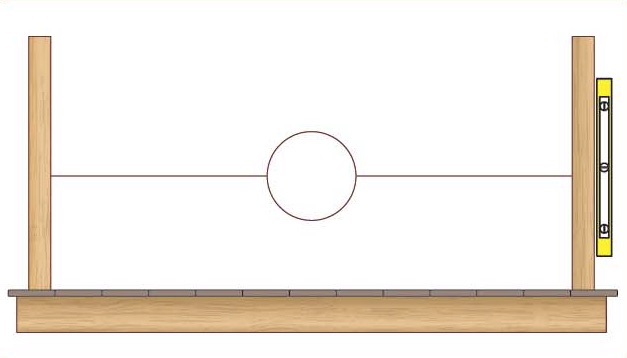
Step1.Plumb 4x4 or 6x6 posts - Measure distance between posts.
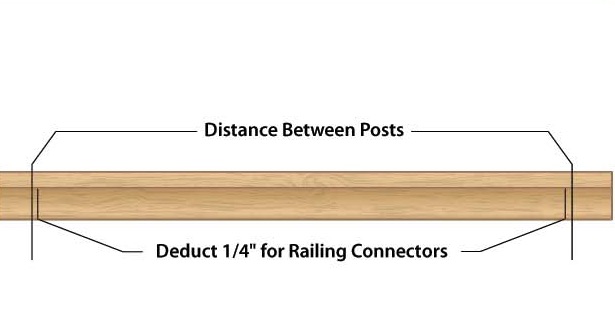
Step 2. Use this application when using Railing Connectors ( recommended - click HERE for railing connectors) Measure top and bottom rail - deduct 1/2" to accommodate railing connector. (if not using railing connector - do not deduct 1/2") Cut top and bottom rails to size.
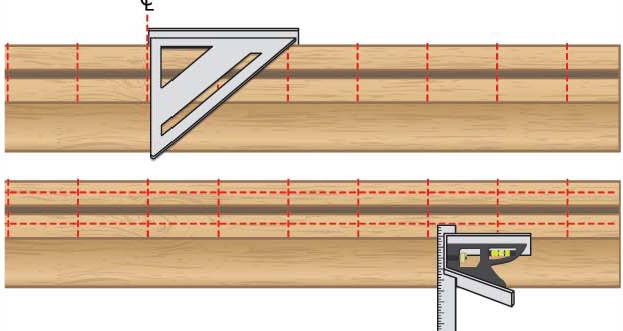
Step 3. Lay top and bottom rail beside each other long end up. Find center of rails and mark. This is your starting point. Measure out 4-1/2" from center on both sides until you reach the end of the rail. End spacing will vary. Use a square and lightly mark through each line. This is where your baluster connectors will mount.
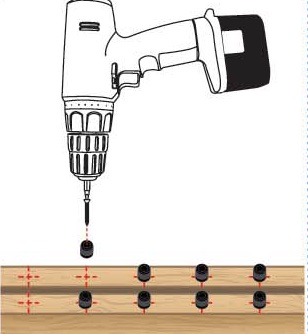
Step 4. Insert screw through baluster connector (click HERE for baluster connectors) Screw down each connector where top and bottom rails are marked.
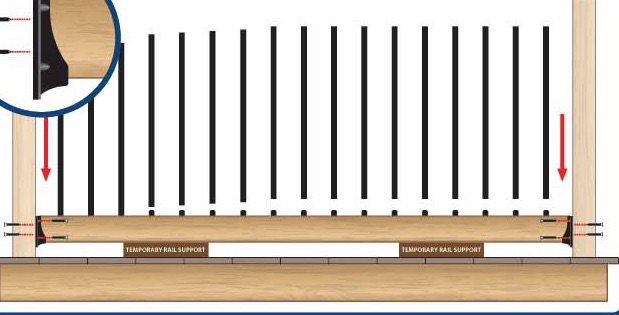
Step 5. Mount bottom railing to posts with attached railing connector. Rest bottom rail on 2 temporary spacer blocks. Insert balusters on to bottom baluster connectors and firmly push down by hand.
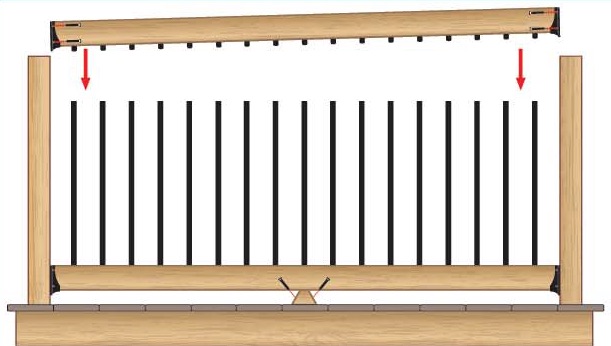
Step 6. Start the top rail at an angle and insert connectors into balusters. make sure balusters are fully connected. Push down firmly by hand. Install top railing connectors to posts. You can now install a handrail if desired.
